A Comprehensive Guide to Installing Metal Roofing Residential Homes
Installing metal roofing residential home can be an intimidating task to undertake. With the wide range of materials, tools, and techniques involved in the process, it’s easy for homeowners to feel overwhelmed and unsure about how best to proceed. Fortunately, this comprehensive guide will provide step-by-step instructions on how to install metal roofing safely and effectively so that you can enjoy your new roof as soon as possible. We’ll cover everything from choosing the right material for your needs to properly securing every panel with fasteners and sealants. So let’s get started!
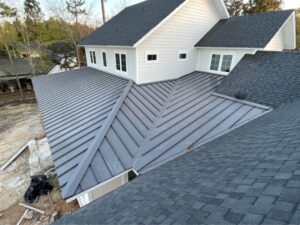
Understanding the Different Types of Metal Roofing Materials
Metal roofing materials are an increasingly popular choice for residential homes due to their durability, energy efficiency, and attractive aesthetic. There are several types of metal roofing materials available on the market today, each with its own unique properties and advantages. Steel is one of the most common and versatile materials used in metal roofing applications. It is strong, lightweight, and cost-effective. Aluminum is another popular choice due to its corrosion-resistant properties. Copper offers superior strength and longevity but is usually the most expensive option. Finally, zinc is a great choice for coastal homes or areas with high humidity as it’s highly resistant to salt water damage.
Preparing the Roof for Installation
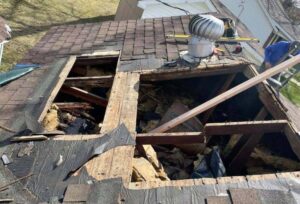
Before you can begin the installation process, it’s important to make sure your roof is properly prepared. This includes removing any existing roofing materials and inspecting the substrate for any signs of damage or rot. It’s also important to ensure that the roof is clean and free from debris before starting the installation process.
Installing Underlayment and Flashing
Once the roof is prepped and ready to go, it’s time to install the underlayment. This layer of material provides a protective barrier between your metal roofing panels and any water or moisture that may enter your home. It is essential for ensuring the longevity of your roof. Flashing should also be installed around areas such as chimneys and dormers to help prevent water penetration.
Attaching the Metal Roofing Panels
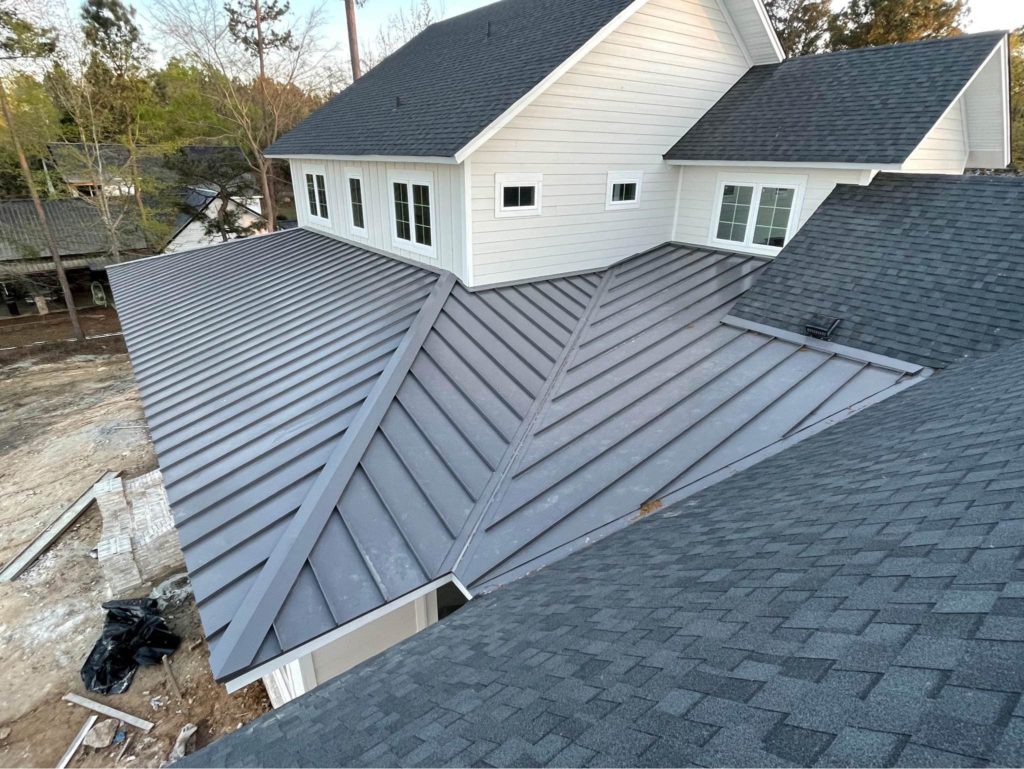
The installation of metal roofing panels can be a tricky process if you don’t have experience with it. It’s important to ensure that all panels are properly aligned and securely fastened so that they will last for many years. Most metal roofing panels come with pre-drilled holes for screws or rivets, which should be used to attach the panels to the substrate. It’s also important to use sealants around all fasteners and seams to ensure a watertight seal.
Finishing Touches
Once all of the metal roofing panels are in place, it’s time to finish off the installation with a few aesthetic touches. You may want to consider applying a sealant or paint to the roof for added protection and a more attractive look. Additionally, installing trim along the edges of the roof can help protect your home from water damage and give it an extra bit of character.
Maintaining Your Metal Roof Over Time
Once your metal roof is installed, it’s important to conduct regular maintenance and inspections to ensure that it remains in good condition for years to come. Inspect the roof at least once a year for any signs of rust or damage and make any necessary repairs as soon as possible. It’s also important to keep the roof clean by removing leaves, debris, and any other buildup that may occur. Taking proper care of your metal roof will help ensure that it lasts for many years to come!
We hope this guide has been helpful in teaching you about the process of installing a metal roof on your home. With the right tools, materials, and knowledge, anyone can install a beautiful and durable metal roof on their home. Don’t forget to conduct regular maintenance and inspections to keep your metal roof in top condition for years! Good luck with your project!
https://www.google.com/maps?cid=9071426352710089089
